No—not every wall needs primer before wall printing.
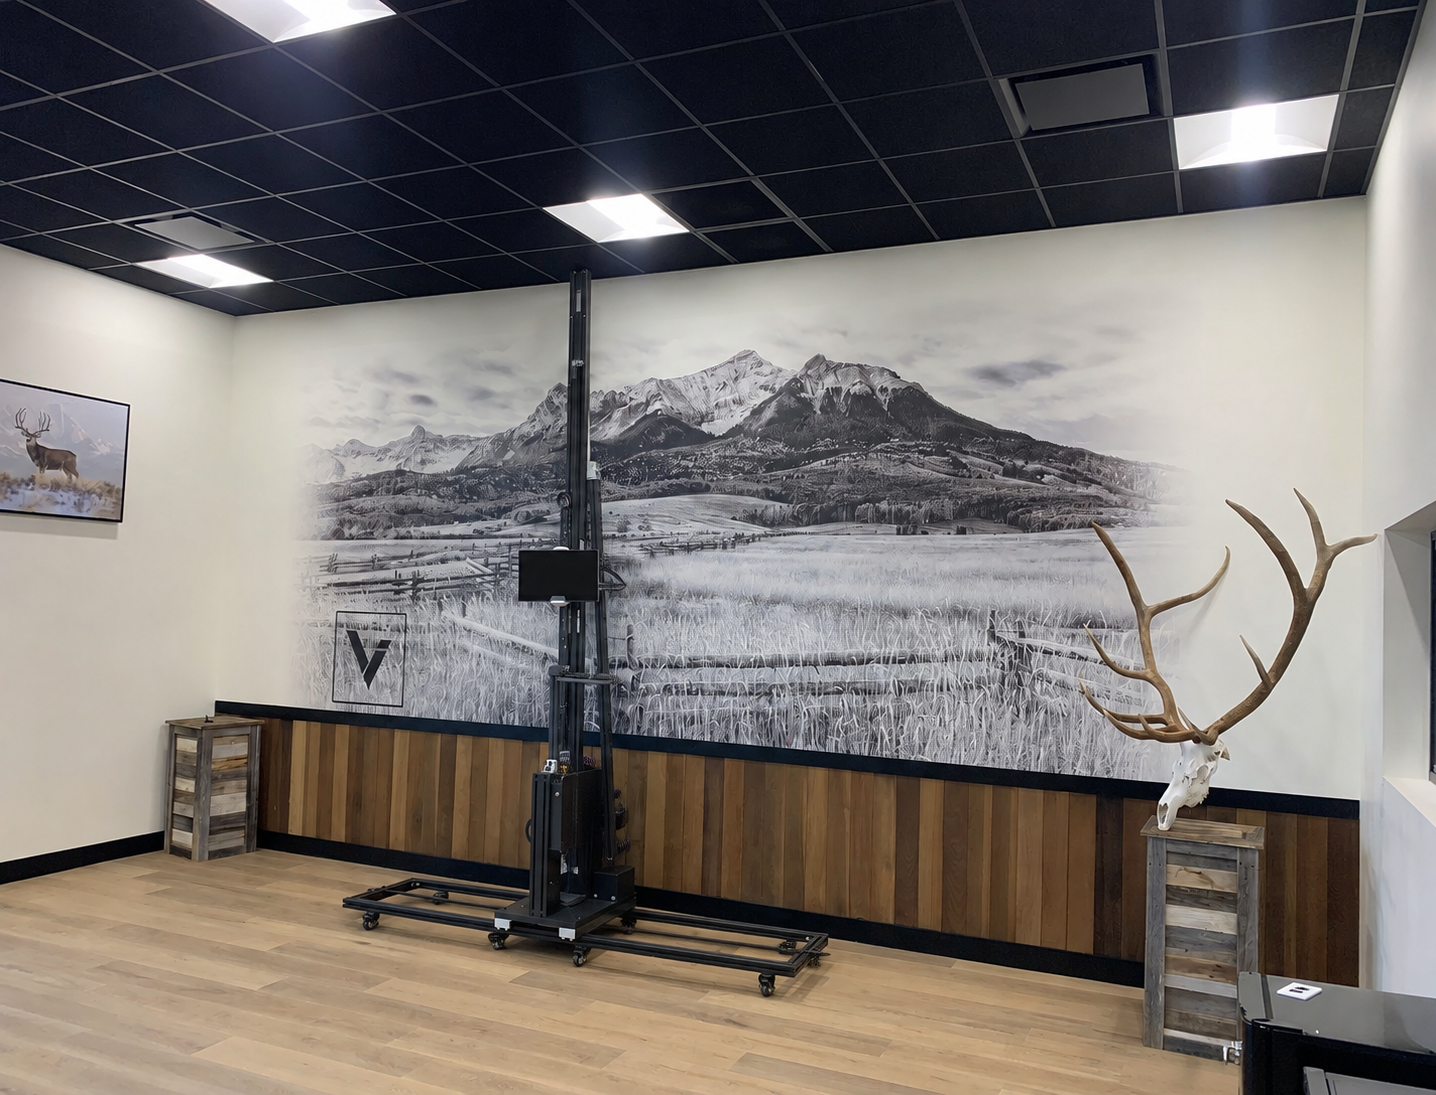
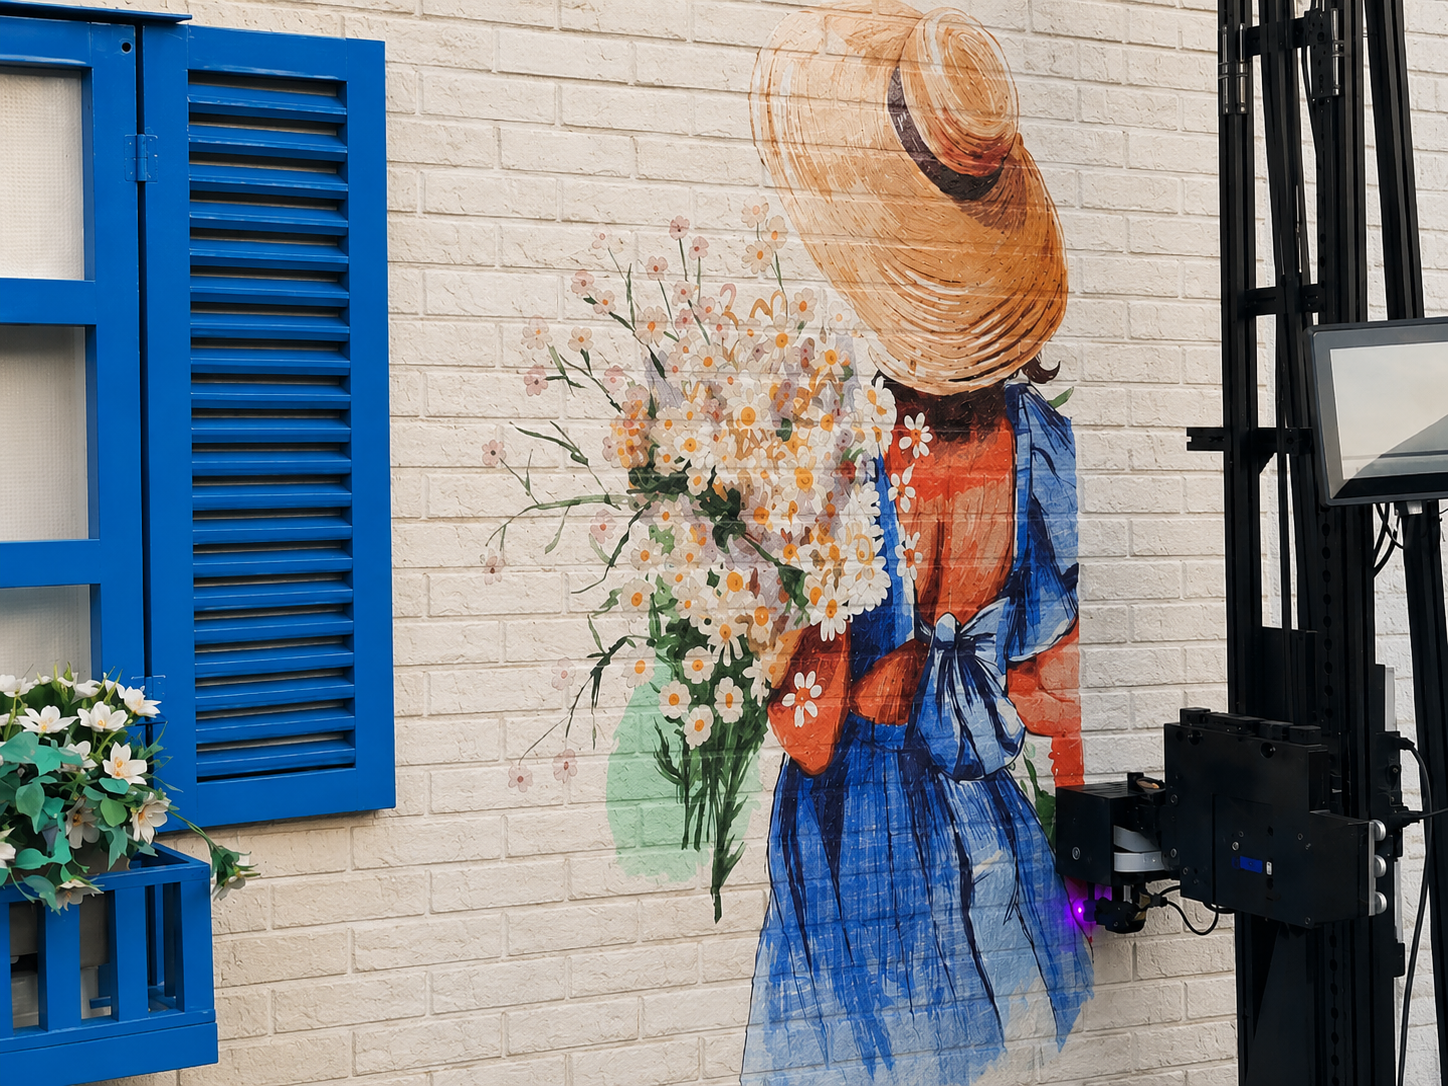
A clean, dry and stable painted wall can often be printed directly. In fact, some commercial wall-printer manufacturers describe surface preparation as minimal and say priming is unnecessary in most normal jobs.
Primer becomes more important when the wall is:
New and highly porous.
Chalky or powdery.
Patched with areas that absorb ink differently.
Glossy or difficult for ink to bond to.
Raw masonry with inconsistent absorption.
The important question is therefore not:
“Do wall printers need primer?”
It is:
“Does this particular wall need primer before I print on it?”
For a beginner using a wall printer, this quick guide is a good starting point:
Wall Condition | Primer? | What to Do First |
|---|---|---|
Clean matte painted wall | Usually no | Clean and test print |
New drywall | Usually recommended | Seal/equalize the surface first |
Fresh patches or joint compound | Usually recommended | Prime repaired areas consistently |
Chalky or powdery paint | Yes, after fixing the surface | Remove loose material and stabilize |
Raw concrete or brick | Often useful | Check cure, dust and porosity |
Glossy painted wall | Maybe | Clean, dull/test or use suitable adhesion treatment |
Glass, tile or metal | Different pretreatment may be needed | Use ink-compatible adhesion treatment and test |
Damp wall | No printing yet | Find and solve moisture problem |
Peeling or flaking wall | No printing yet | Repair the substrate first |
1. When Does a Wall Need Primer?
Primer is mainly useful when the existing wall cannot provide a clean, stable and reasonably uniform surface for the ink.
Clean Painted Walls Often Need No Primer
If the wall is already painted and the coating is:
Clean.
Dry.
Well bonded.
Relatively smooth.
Not chalky.
Not excessively glossy.
then you may be able to print directly.
This is important because beginners often assume every wall needs another coat before the machine arrives.
It does not.
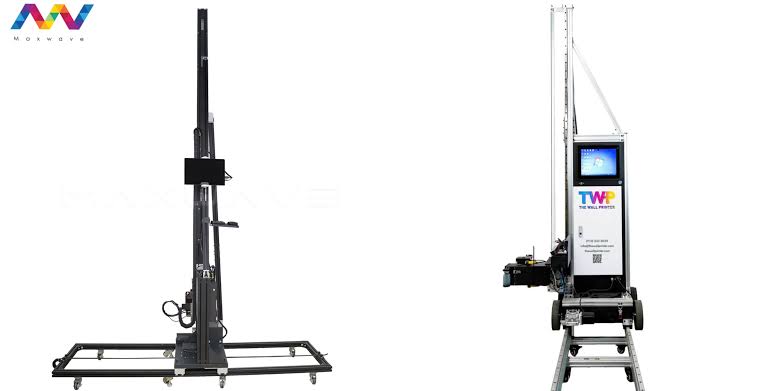
A wall printing machine using UV-curable ink can print directly on many prepared surfaces. The Wall Printer says its normal process requires minimal surface preparation and no primer in most cases, while wallPen reports good direct-printing experience on wall paint, latex, concrete, stone, wood and plastic.
Do not add primer simply because it feels safer.
An unnecessary coat adds:
Labor.
Material cost.
Drying time.
Another surface whose adhesion can fail.
If the existing painted wall already works, printing directly is usually the simpler workflow.
New Drywall Usually Benefits From Primer
New drywall is different.
The drywall face paper and the joint compound do not necessarily absorb liquids in exactly the same way.
That can create an uneven surface for decoration.
USG specifically explains that drywall primer helps equalize differences in texture and porosity between the face paper and finished joint-compound areas. Sherwin-Williams likewise recommends priming new drywall after the joints and patching materials are fully dry and sanded.
So if you are facing:
Bare drywall.
Large repaired areas.
Fresh joint compound.
Multiple patched sections.
primer is usually a sensible preparation step before wall printing.
The original article was directionally right to highlight new drywall as one of the clearest primer cases.
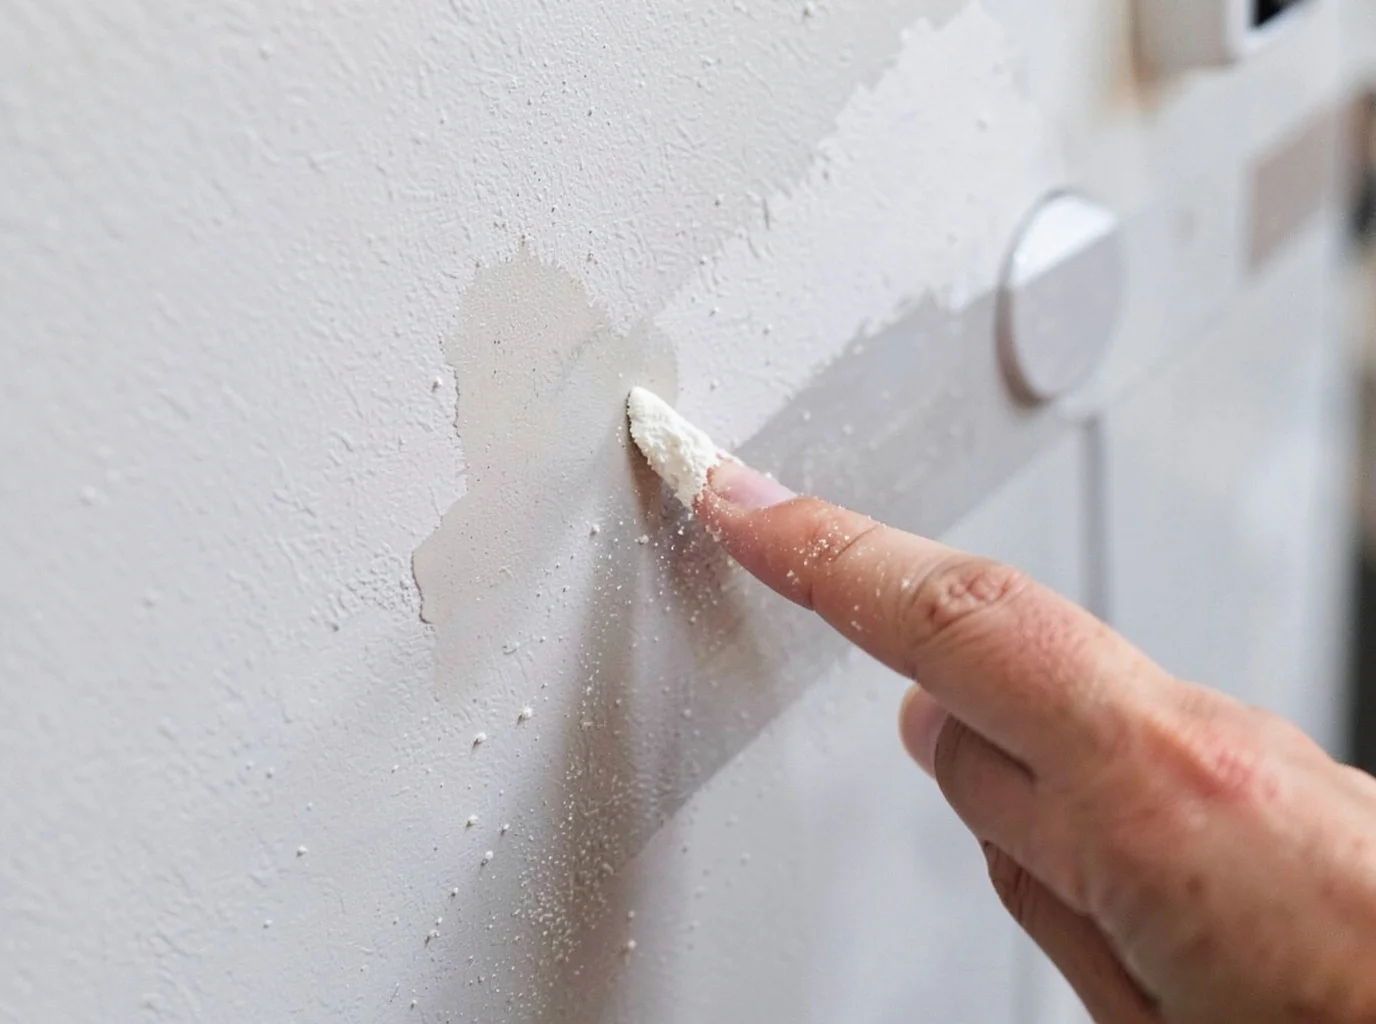
Chalky Walls Need More Than Ink
Run your hand over the wall.
If powder comes off onto your fingers, that is not a wall you should simply print over.
Ink can only adhere as well as the layer beneath it.
If the old paint itself is weak, the print may remain attached to the paint while the paint separates from the wall.
So first:
Remove loose material.
Clean the surface.
Repair unstable areas.
Then use an appropriate primer or conditioner if required.
Sherwin-Williams similarly recommends removing excessive chalk and using an appropriate primer/conditioner on unstable chalky surfaces.
Primer is not glue for a structurally failing wall.
You still need a sound substrate underneath it.
Raw Concrete and Brick Need Testing
Concrete, brick and masonry vary widely.
A smooth sealed concrete wall may accept printing very differently from raw porous block.
Before using a vertical wall printer, look for:
Dust.
Efflorescence.
Moisture.
Loose particles.
High porosity.
Large holes or joints.
Different repaired sections.
Fresh masonry also needs enough curing time before coatings or printing are applied. Sherwin-Williams notes that new concrete and masonry normally require curing according to the material supplier's recommendations, often around 30 days for conventional coating workflows.
If the surface absorbs unevenly or sheds dust, a masonry sealer or suitable primer may improve consistency.
But do not assume:
Brick = always primer.
Test the actual wall.
Glossy Walls May Need Adhesion Help
Glossy paint creates a different problem.
It is not necessarily too porous.
It may be too slick.
Hard glossy surfaces can make adhesion more difficult, which is why conventional coating guidance recommends cleaning, dulling/sanding or using an appropriate bonding primer where necessary.
For wall printing, the best approach is again:
test first.
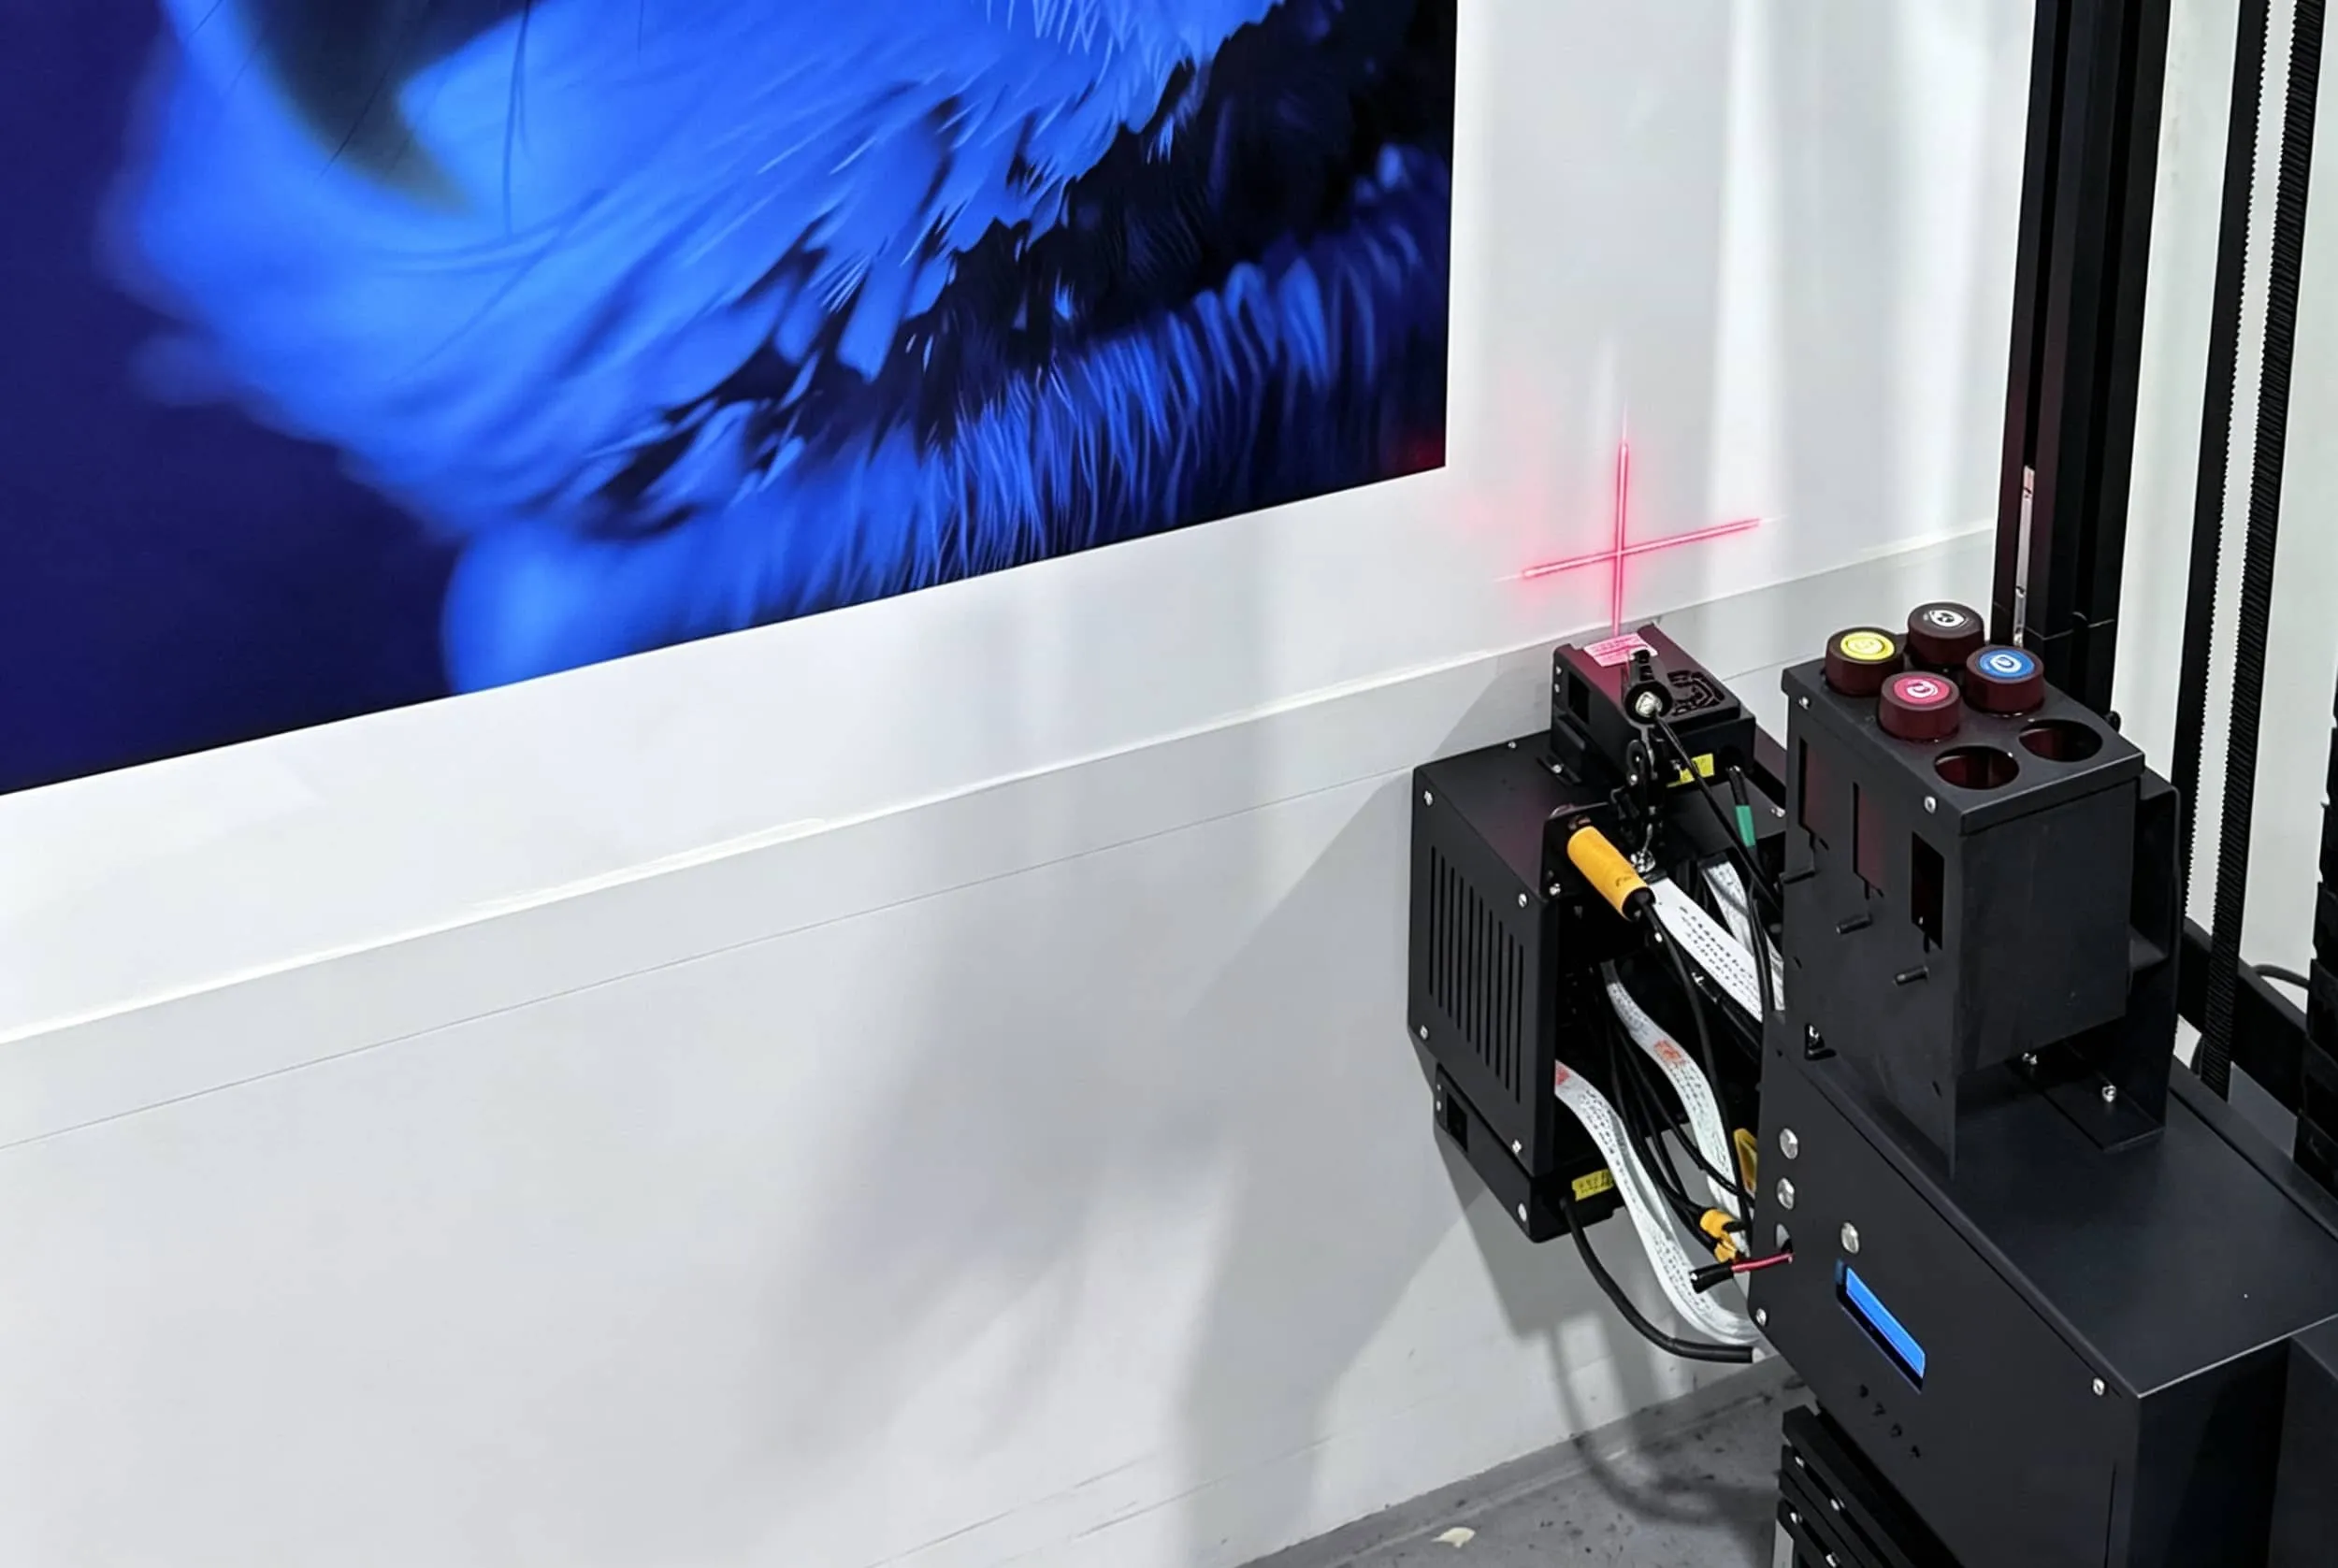
A small test print can tell you whether the UV ink adheres adequately without changing the complete wall.
Glass and Tile Need Different Pretreatment
Do not use ordinary drywall primer just because the surface is difficult.
Glass, tile, metal and some plastics are nonporous surfaces.
They may require a specialized adhesion promoter or primer specifically compatible with the printing system and ink.
wallPen, for example, sells a dedicated glass pretreatment specifically to improve UV-ink adhesion on challenging nonporous surfaces.
So for these materials:
Do not ask “Which wall primer should I buy?”
Ask:
“What pretreatment does my wall-printer manufacturer recommend for this material?”
That distinction is important.

2. How Should You Check the Wall?
Beginners do not need complicated laboratory equipment.
Before every unfamiliar wall, do a simple surface check.
Check Whether the Wall Is Clean
Wipe the wall with a clean light-colored cloth.
If you collect:
Dust.
Chalk.
Grease.
Loose paint.
Construction residue.
then deal with that before printing.
A printer cannot compensate for contamination between the ink and the wall.
Check Whether the Wall Is Stable
Look closely for:
Peeling.
Blisters.
Cracks.
Loose plaster.
Flaking paint.
Soft patched areas.
If the existing paint comes off easily, primer alone is not enough.
Repair the wall first.
The original draft correctly identifies hidden moisture, unstable old paint and uneven surfaces as three common problems beginners need to catch before printing.
Check Whether the Wall Is Dry
Do not print immediately over:
Fresh plaster.
Fresh joint compound.
Wet masonry.
Recently washed walls.
Uncured paint.
Moisture can affect adhesion and can also indicate a deeper wall problem.
Follow the curing instructions for whatever coating, primer, patching compound or masonry material was used.
Do not invent your own universal “24-hour rule.”
Products and site conditions differ.
Check Surface Porosity
A simple water-drop test can give you a rough indication of how absorbent the surface is.
If a small drop disappears very quickly into raw material, the wall is relatively porous.
If it remains beaded on the surface, the wall is much less absorbent.
This is useful as a screening test, not a final guarantee of ink adhesion.
Porosity is only one variable.
UV curing, wall cleanliness, existing coatings and ink compatibility matter too.
Check Wall Flatness
Primer does not fix geometry.
Deep joints, projections, large cracks and sudden changes in wall depth can create:
Printhead-distance problems.
Overspray.
Blurry details.
Potential head contact.
Inspect the wall visually and by touch before setting up the printer.
For a wall mural printer, physical wall condition can be just as important as the coating itself.
Print a Small Sample
This is the most valuable check.
wallPen's user manual specifically recommends testing the actual substrate under the same conditions before committing to the final print, then checking ink curing and durability. It says primer can be considered if the test result shows it is necessary.
A useful sample should include:
Solid colors.
Fine text.
Dark areas.
Gradients.
Edges.
If relevant, white ink.
Then check:
Does the ink look even?
Is it fully cured?
Can it be rubbed off too easily?
Does the wall color change the image?
Is the surface texture reducing detail?
A real test print is more reliable than guessing from the name of the wall material.
3. Which Primer Should You Use?
There is no universal “wall printer primer.”
The correct product depends on why the wall needs treatment.
New Drywall
Use a drywall-compatible primer/sealer designed to equalize the paper and joint-compound surface.
The goal is not to make the wall glossy.
It is to create a stable, uniform base.
Porous Masonry
For porous concrete, brick or plaster, use an appropriate masonry primer, conditioner or sealer when testing shows that sealing is necessary.
Sherwin-Williams specifically offers concrete/masonry primers for concrete, brick, stucco and plaster, illustrating why masonry should not simply be treated with the same product as drywall.
Chalky Surfaces
First remove loose and powdery material.
Then use a product designed to stabilize the remaining sound surface if required.
Do not apply primer over loose chalk and assume the problem is solved.
Glossy Painted Surfaces
Clean the wall first.
Depending on the finish and ink system, lightly dulling the surface or using a suitable adhesion primer may improve bonding.
Always test afterward.
Glass, Tile and Metal
Use a specialized, ink-compatible adhesion promoter recommended by the machine or ink supplier.
Do not substitute a random construction primer because its label says “tile” or “glass.”
A product designed to make tile adhesive stick is not automatically designed to sit underneath UV printing ink.
That is one area I would remove completely from the original article: the long list of specific tile primers created for unrelated coating or tiling workflows.
Let Primer Cure Before Printing
Whatever treatment you use, follow its manufacturer instructions for:
Application.
Temperature.
Humidity.
Recoat time.
Full curing.
Do not copy a universal cure time from another primer.
The original draft listed everything from 30 minutes to 28 days because those products solve very different coating problems.
For the wall printer operator, the rule is much simpler:
Do not print until the selected preparation product is ready for the next coating or printing step according to its technical data.

Conclusion
Does a wall need primer before wall printing?
Sometimes—but not by default.
A clean, dry, stable matte painted wall can often be printed directly.
Primer or another surface treatment becomes more useful when the wall is:
Bare and porous.
Chalky or unstable.
Heavily patched.
Glossy and difficult to bond to.
A challenging nonporous material requiring an adhesion promoter.
The beginner workflow should be:
Inspect → clean → repair → test → prime only if needed → test again → print.
Do not use primer to hide a moisture problem, loose paint or a badly damaged wall.
And do not add an unnecessary primer layer to a surface that already prints well.
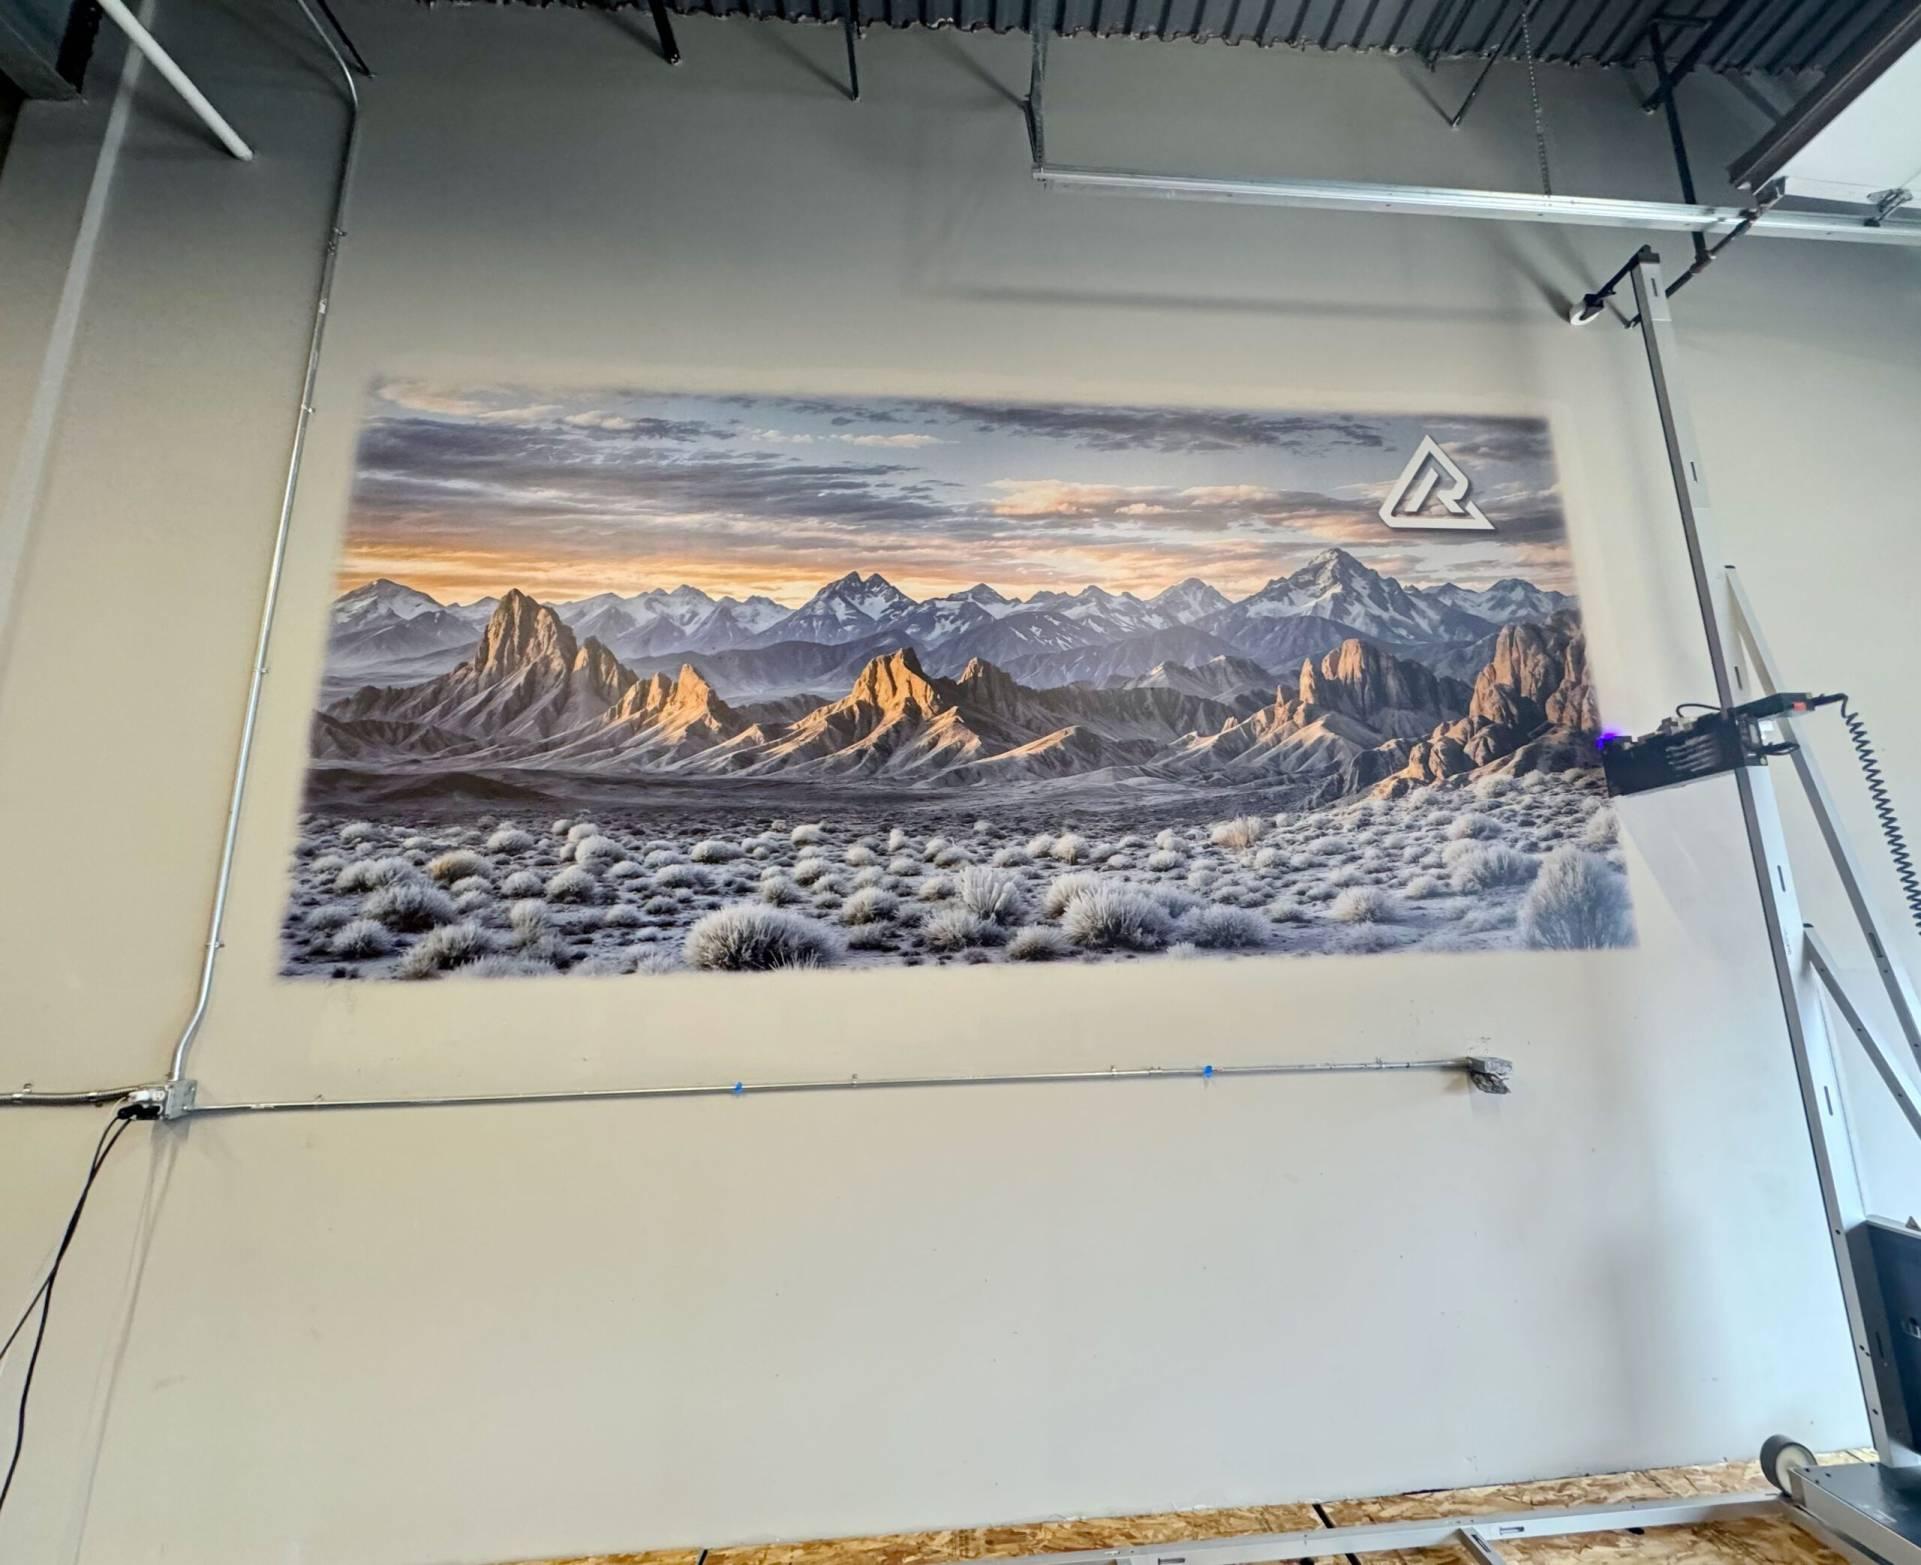
For operators using a professional wall printer, the best protection against adhesion problems is a small real-world sample on the actual wall.
If you are unsure whether a wall needs primer, send WallPrintBox photos of the wall surface, its material, current coating and the artwork you plan to print. We can help you determine whether direct printing, surface sealing or an adhesion pretreatment is the better starting point—and recommend a sample test before you commit to the full mural.