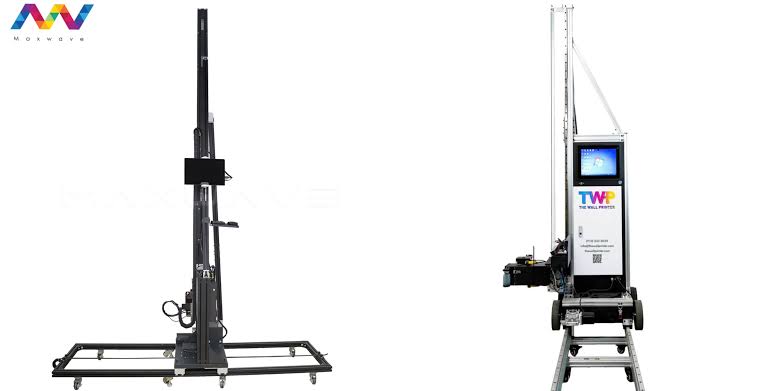
I still remember staring at the pile of boxes after my wall printer arrived, wondering if I'd just made a very expensive mistake. No manual made sense until I plugged something in wrong once (RIP, one ink cartridge). If you're standing in that same spot right now, wondering how to set up a wall printer step by step without frying a circuit board or printing a mural that looks like a Picasso gone rogue, I'm walking you through exactly what I did, from confirming your unboxing checklist to running that nerve-wracking first test print. This is the wall printing machine setup process I wish someone had handed me on day one.
Confirm the Complete Unboxing Checklist
Before you touch a cable, clear a table. Seriously, grab the biggest flat surface in your house, because you're about to lay out every part from every box and match it against your packing list. This is the fastest way to catch a missing piece before it becomes a mid-installation crisis at 11 PM.
Group everything into five piles:
Host unit components: printer body, rails/columns, print head, ink supply system, control box
Cables: power cable, connection cable, control panel cable, sensor cable, Y-axis motor cable
Software media: USB drive or installer package. Check the version number now, before you're staring at an incompatibility error later.
Consumables & tools: ink cartridges or bottles, cleaning cloth, factory tool kit, user manual
Documentation: manuals, warranty cards, any quick-start sheets
Don't just glance and assume everything's there. Physically pick up each item, check it against the manual's packing list, and tick it off. I skipped this once and didn't realize my sensor cable was missing until I was already mounting rails.
While you're at it, inspect the packaging itself for tampering, dents, scratches, cracks, or water damage. Then check each physical component, including the printer body, rails, print head, and control box, for visible damage before powering anything on.
You also need to confirm your wall and computer. Your wall should be dry, flat, and dust-free, with height and print width measured. Your computer needs to run Windows 7 64-bit or compatible, and the software must be installed before you connect anything.
Complete the Physical Installation and Cable Connection
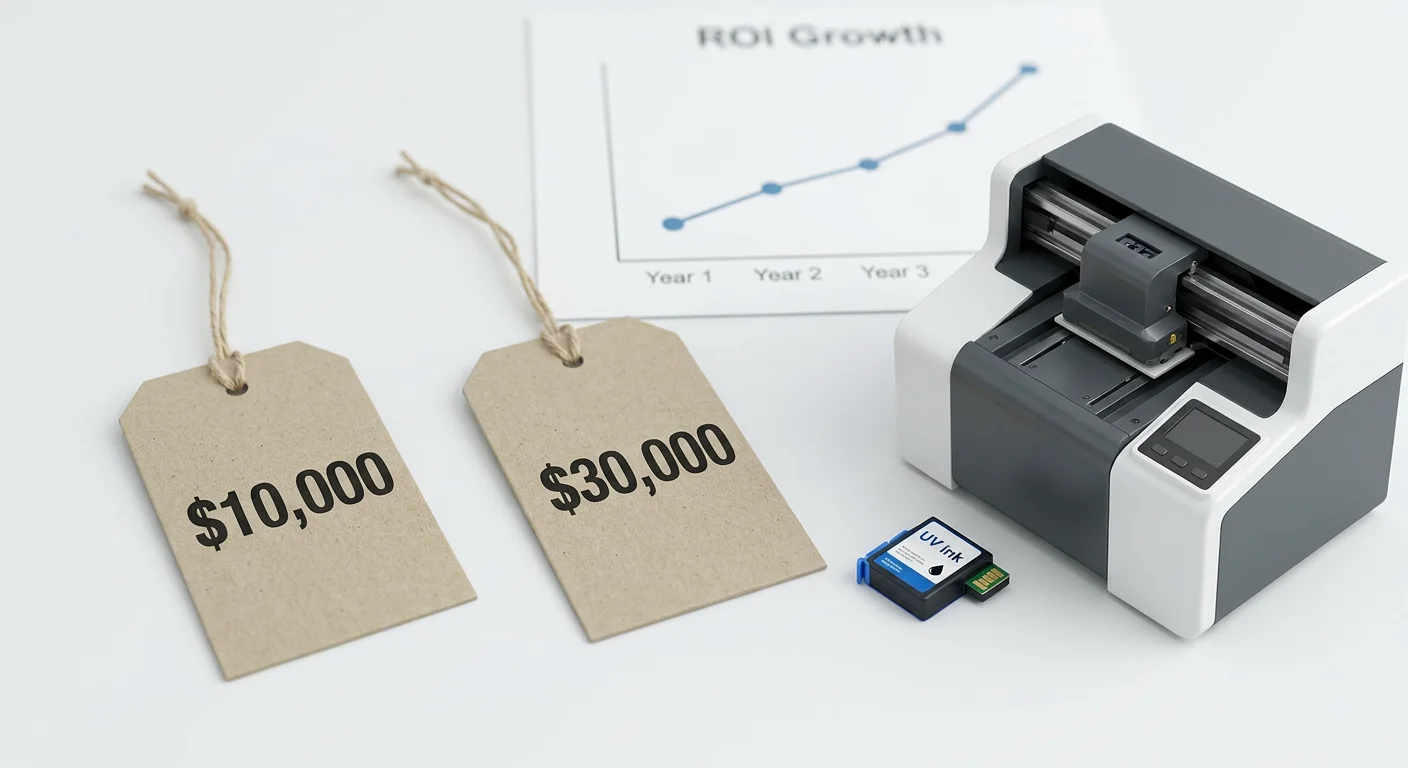
Physical installation has a sequence. Skipping steps out of order turns a $2,000 wall printing machine setup into a repair ticket.
Position the machine first, don't mount it. Set the printer body in front of the wall with enough clearance so the print head, beam, and control box can't touch the wall or ceiling during operation. Clear your floor space completely before you push the unit into final position. You don't want to squeeze around boxes while maneuvering a heavy frame.
Level the base before you tighten anything. Check ground flatness and use leveling feet or mini jacks to get the frame level before locking the structure down. Do this now, and you skip a painful re-alignment later.
Newbie pitfall: Tightening every screw immediately because it feels "done faster." Set level and perpendicularity first, then lock fasteners and brackets. Reverse that order and you're disassembling half the frame next week.
Get vertical alignment right. The columns need to sit exactly perpendicular to the wall plane. A tilted frame ruins pattern alignment on every future wall mural printing job.
Cable Connection Guide
Assemble columns, rails, cable trays, and support hardware in the order your manual specifies. Route cables through trays or conduits, secure them at regular intervals, and avoid tight bends or twisting that stress the jackets.
For every connector: push it fully into place, then do a gentle pull test. If it moves, it's not locked. Match power, control, sensor, and motor/data cables to their labeled ports. Mismatched ports are one of the most common wall printer connection guide mistakes.
Confirm anti-fall safety before powering on. Limit stops, locking pins, and locking mechanisms all must be secure. This stops the carriage or print head from dropping mid-motion.
Last check: roll the wheels along the track manually. They should move smoothly with zero binding, and no cable bundle should snag the path. Label every cable-to-port pair now. Future troubleshooting will thank you.
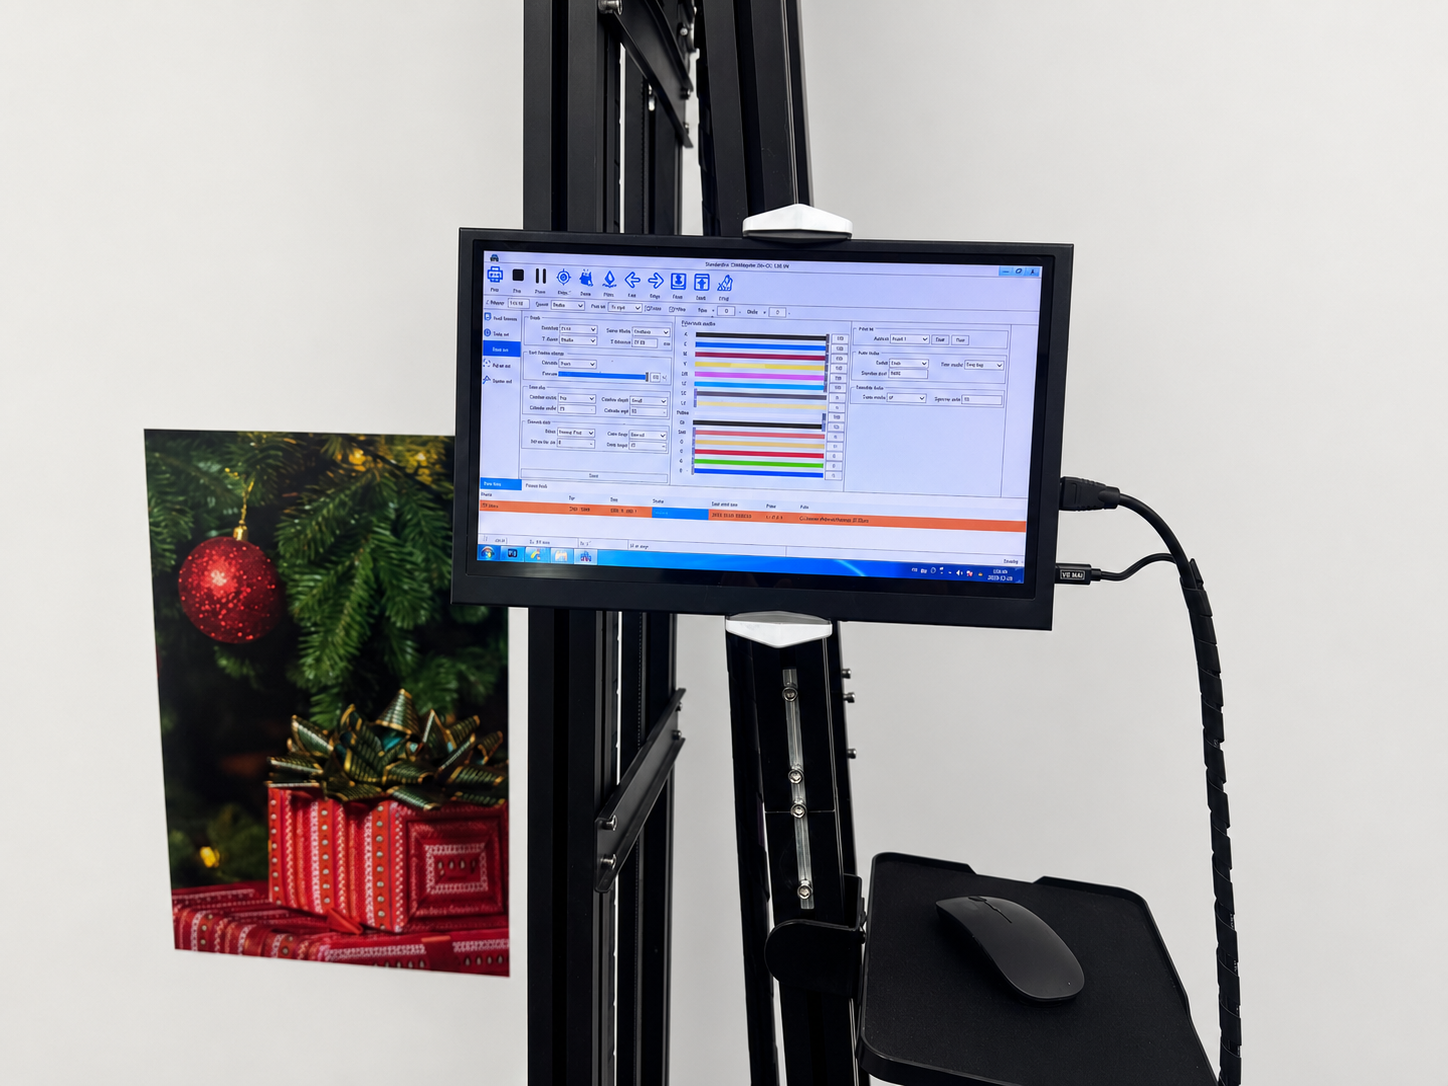
Install the Wall Printer Software and Import Your Image
Most people get impatient and plug in the USB cable first. Don't. Software goes on the computer before the printer ever talks to it.
Install the control software from your manufacturer's USB or installer package before connecting anything by cable. AntPrint and DXonJet both structure their setup this way because the driver needs to exist on your machine before Windows tries to recognize new hardware. DXonJet's installer will also ask you to pick a 32-bit or 64-bit USB device driver. Check your Windows version first, or you'll install the wrong one and start troubleshooting a problem that doesn't need to exist.
Match your software version to your exact printer model. Manufacturer download pages list specific packages, things like UltraPrint and BetterPrint variants built for TX800-2H, DX7-2H, and DX7-1H print heads. Grabbing a generic download instead of the model-specific one is a fast way to get a printer that installs fine but never communicates properly.
Newbie pitfall: If installation freezes or a driver file gets flagged and blocked, disable your antivirus temporarily. This is standard guidance across Wall printer software installation docs.
Only connect the USB cable once the software is fully installed and the printer's power switch is on. Some workflows also want the dongle connected before you open the control software, so check your manual's exact order.
Prepare and Import Your Wall Mural File
Set your canvas size to match the actual wall dimensions before you do anything else. Import your JPG or PRN/PRT file, then scale the artwork to that canvas, not the other way around.
Resolution matters more here than almost anywhere else in this process. Use 300 DPI minimum, and lean toward TIFF over JPEG for mural-sized work. Importing a low-res image and stretching it to wall size is the single fastest way to get pixelation on a print you can't take back.
Prep your file in CMYK, apply rotation (often 90°) and cropping as needed, and select the right print curve if your software offers presets like HC_Car Wrap Curve. Export as a PRN file, then load that job into your control software. Once it's imported and the machine's ready, Print is one click away.
Set Up the Ink Cartridges and Prime the Ink System
Air bubbles are the silent killer of a good first print. You won't see them, you won't hear them, but they'll show up as broken lines the second you run a test.
Power on the machine first, then launch your control software and follow its cartridge-install prompt. The software will ask you to select the exact ink set or type you're running. Match it precisely. This isn't the place to guess.
Fill and prime before you install anything:
Fill a refillable cartridge with 8–10 ml of ink through the outlet or priming port, then top off through the standard fill hole.
Reinsert the fill plug once filling is done. Never plug the vent hole. Only pull the air vent plug when the cartridge is ready to go into the printer.
Insert a syringe tip into the outlet port and pull back gently. This draws air out of the channel and starts ink flow toward the print head.
A common mistake: skipping priming entirely. Air trapped in the exit channel causes interrupted printing and a rough nozzle check that looks like a hardware failure but isn't.
Seat each primed cartridge firmly into its labeled slot. Keep ink tanks positioned to match cartridge order so the feed system pulls correctly. Then wait. Give it 30 minutes before your first nozzle check, letting any remaining air work its way out of the print head.
Run a nozzle test. Broken lines or missing colors mean you're not done. Run one cleaning cycle, wait 15 minutes, test again. Repeat until every channel prints clean and unbroken. That's your green light, not before.
Calibrate the Print Head Distance and Leveling
Skip this step and every mural you print afterward will have tilted lines, uneven ink density, one side crisp and the other blurry. Print head calibration and leveling separate clean work from expensive guesswork.
Level the machine before you touch the head gap. An unlevel frame throws off every distance measurement you take afterward, so any calibration done first is calibration you’ll redo. Grab a spirit level, set it on the base or frame, and adjust until it’s flat. Don’t eyeball it.
Once level, check that your axes move freely. Push the head across the X-axis rail, slide the Y-axis carriage, and test the Z-axis gap between head and wall. No binding, no sticking, no resistance anywhere along the travel path. If something catches, fix that before setting any distance.
Setting the Head-to-Wall Gap
Target 5–10 mm between the print head and the wall surface, staying within roughly 1 cm of that range. Use a feeler gauge, a leveling card, or even a folded piece of paper as your spacer. The gap is correct when that paper slides through with slight resistance – not loose, not scraping.
Newbie pitfall: Checking the gap once at the starting point and calling it done. Distance can drift across the travel path. Check multiple points, corners included, not just the center, until resistance feels identical everywhere.
Too close and the head scrapes the wall. Too far and you’ll get ink misting, soft edges, and faded color on your test print.
Machines with guided calibration, like AOSEED models, follow a set sequence: calibrate first, then level point by point, then save settings. Follow your manual’s order exactly.
Quick fixes: scraping means increase the gap slightly. Blurry or fogged output means decrease it, but re-check leveling first. If one side prints clean while the other looks rough, the machine is unlevel – re-level before touching the head.
Align the Printer to the Wall and Set the Start Point
Eyeballing the starting position ruins more murals than bad ink ever does. You look at the wall, guess where "center" feels right, hit print, and thirty minutes later you're staring at an image that's crept two inches off the boundary. This step is where wall printer calibration meets basic geometry, and geometry doesn't care how confident you felt.
Position before you set anything. Push the printer flush against the wall and check that both rails run parallel to it. A rail that's even slightly angled will drag your print line off-course as the carriage travels, and you won't notice until you're halfway through the job.
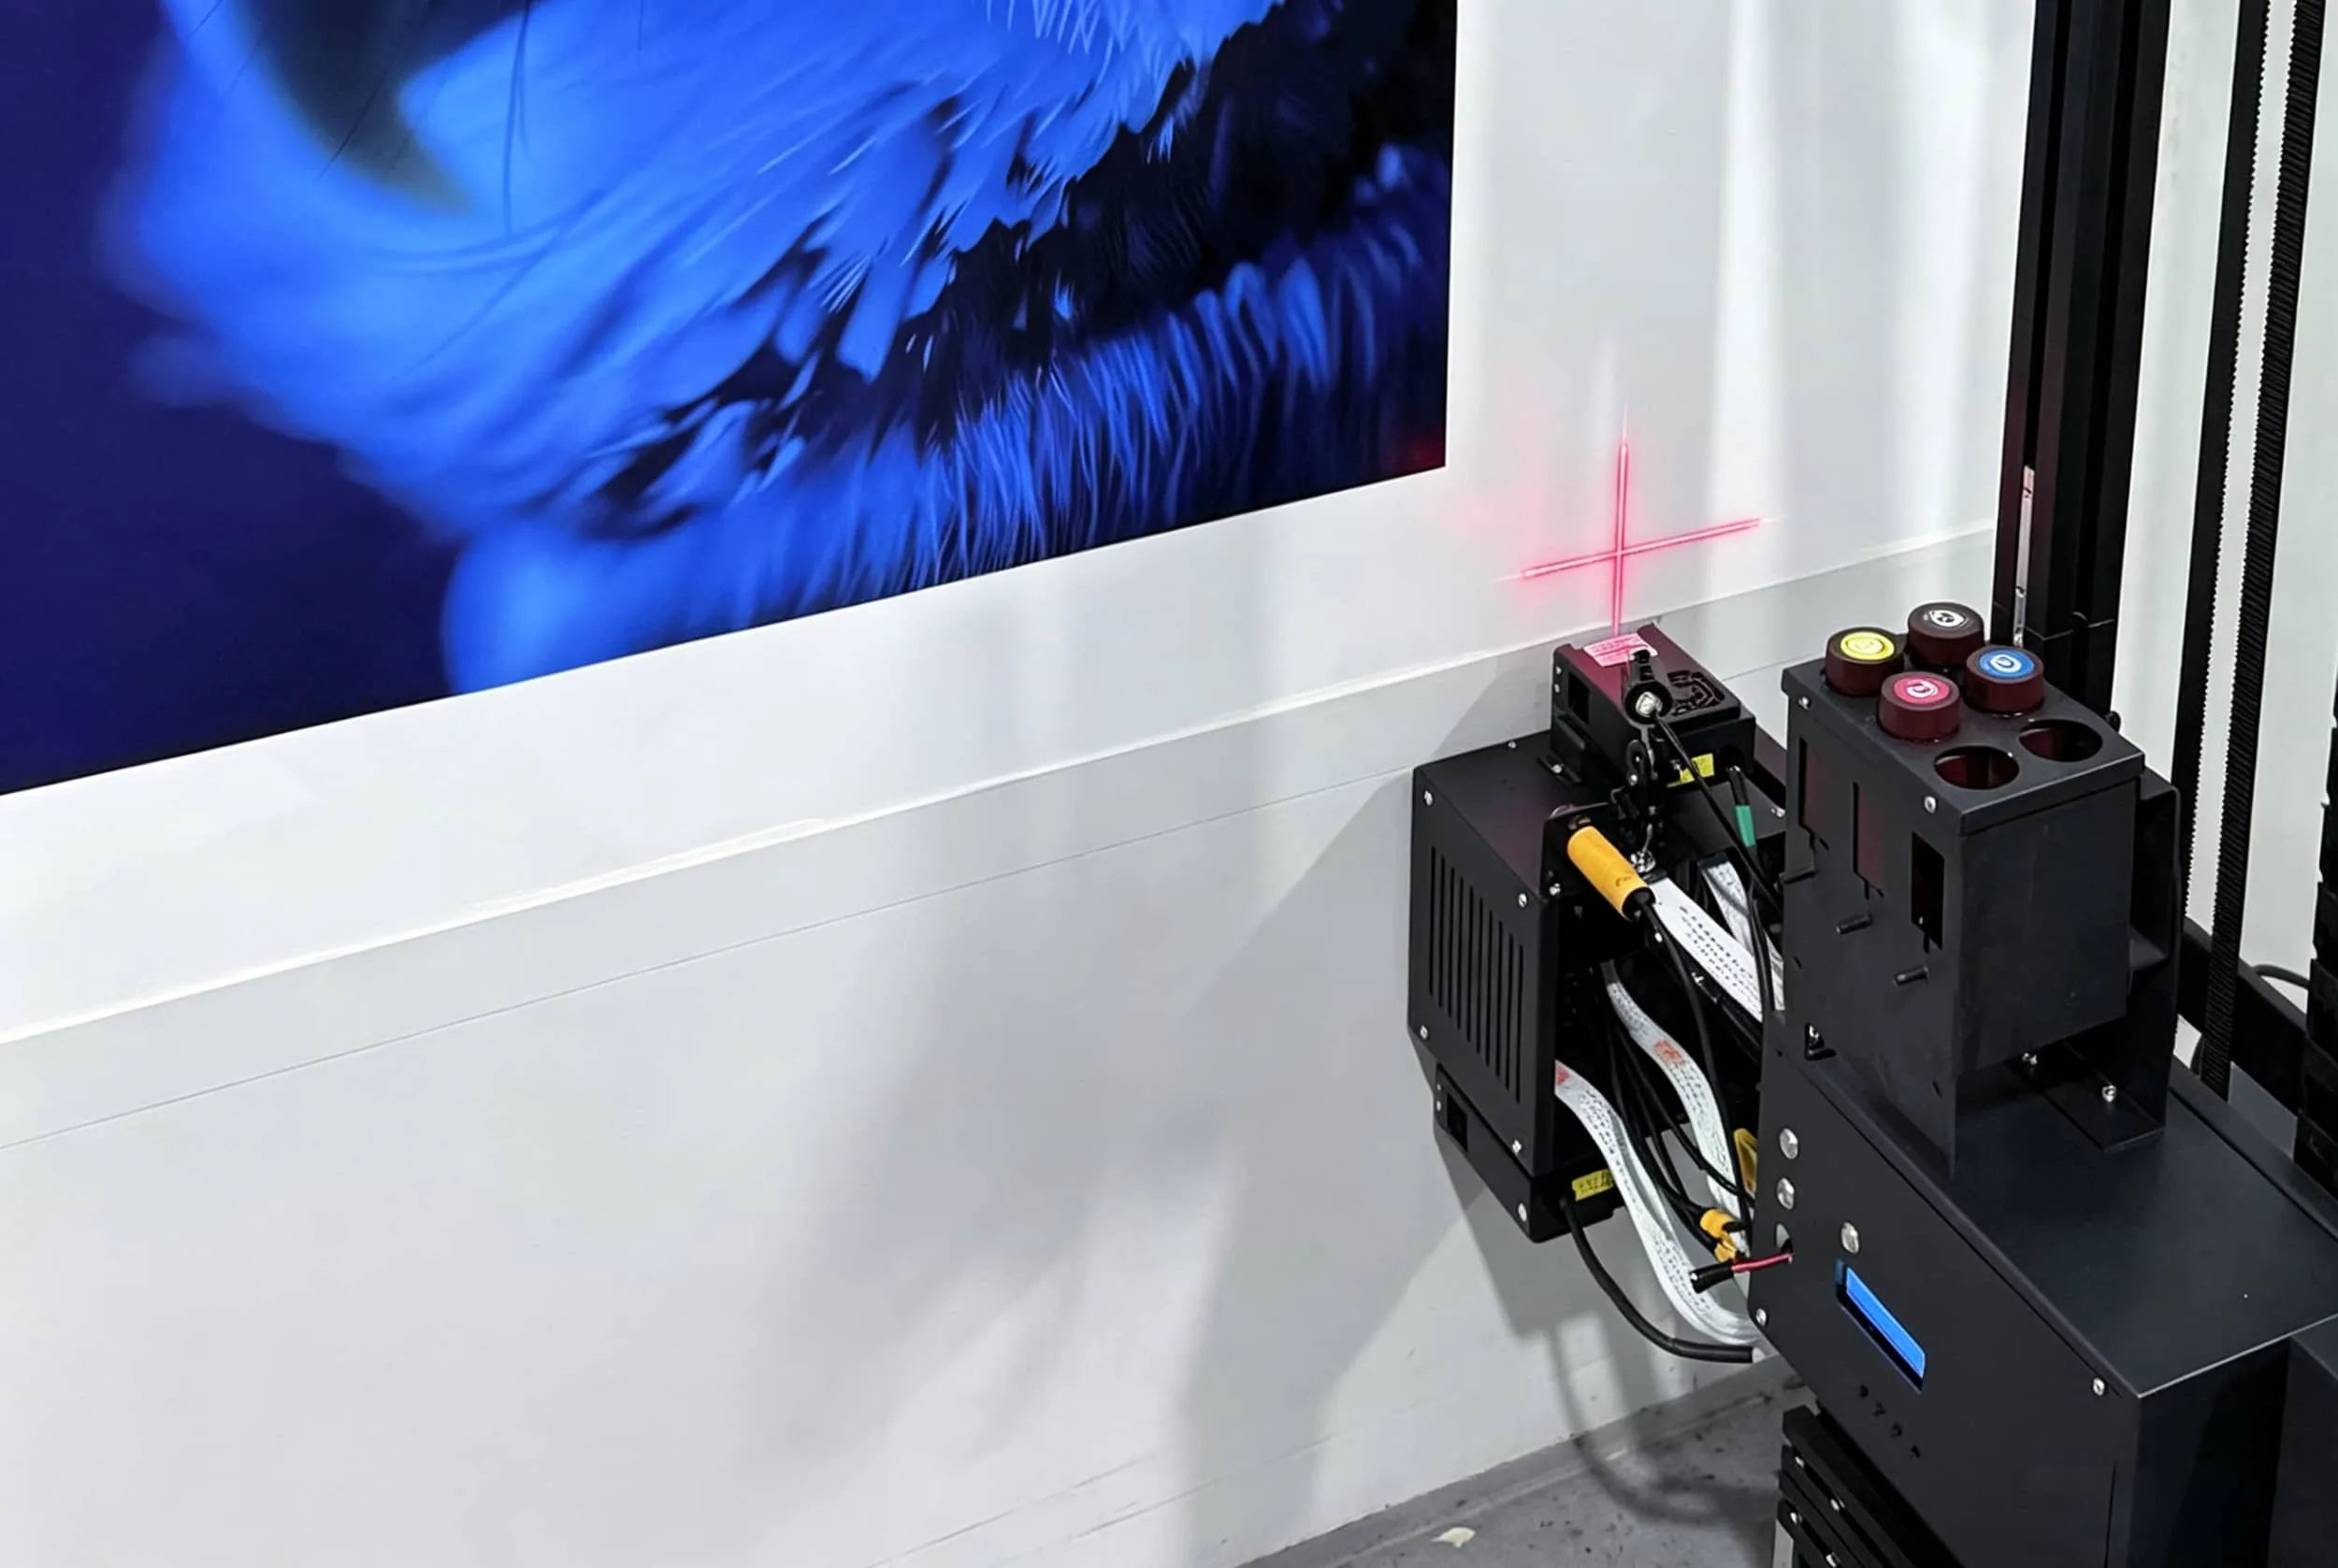
Pick a fixed reference. Use a corner, a floor line, or any immovable boundary on the wall. That's your datum point for setting the print origin. Never use the visual center of the mural area. Centers shift depending on where you're standing; corners don't move.
Measure from that reference to set your X/Y start point. This is the actual origin your software will print from, so get the number right before you commit.
Confirm With a Test Line
Before running the full mural, print a short test line or small test pattern. Check two things: does the Y-axis travel match the wall height you expect, and does the edge land where the boundary should be?
If the line drifts from that expected edge, don't push forward. Re-zero the start point against your fixed reference and test again.
Newbie pitfall: Skipping wall prep here. Dust and uneven surface texture cause grain, poor ink adhesion, and blotchy dot patterns, even with a perfect start point. Clean and flatten the print area first.
Also lock in your print direction and choose high-quality or balanced-speed mode in software before exporting the job. Changing these after export means re-doing the whole alignment check.
Run a Test Print and Inspect the Output Quality
Power on, start software, leveling check, ink flow check, image size set, start point and mode set, test line, confirm, then full mural. Skip a step and you'll find out the hard way.
Set quality to "Best" or "High" and scaling to "100%" or "Actual Size" for this first run. Speed adjustments come later, once you know the output's clean.
Print a small test patch, not the full image. Pull it under natural light and check for lines and edges for any streaking, banding, or broken segments. Compare color match against your file or reference guide. Ensure solid fills are smooth and even with no misting or pooling. Check registration for horizontal and vertical alignment against your boundaries.
Don't skip the test patch to save five minutes. It catches misalignment or color drift before you waste a wall's worth of ink on a full reprint.
Only proceed to the full mural when you have clean output, matching colors, sharp details, and proper alignment.
Run the Fault-Prevention Checklist Every Time
Seven checks separate you from a ruined mural. Do this list on every print—not just the first.
Level the machine with a spirit level. Skip it and patterns tilt, head height drifts.
Check the wall: clean, dry, even. Dirt and texture read as grain in the final print.
Prime the ink system before each session, not just at setup. Make nozzle checks a daily habit.
Verify the start point against your fixed reference, every time.
Recheck head-to-wall distance. It drifts more than you expect.
Match file dimensions to wall size exactly, or your mural stretches.
Print a test patch first. Always.
Keep a tool kit nearby: spirit level, screwdriver set, your Windows PC, USB installer, spare ink, cleaning cloths, and a small test area. This is your wall printer troubleshooting reference, not something you read once.
Conclusion
Setting up a wall printer successfully comes down to one thing: following the correct sequence.
Mechanical installation, software connection, ink preparation, calibration, and test printing all depend on the step before them. Skipping ahead may save a few minutes during setup, but it can create far more expensive problems once printing starts.
If your test print is clean, aligned, and properly cured, the machine is ready for real work—but one successful test should not be the end of the learning process.
Run a second sample on scrap material, experiment with different image types and print modes, and record the settings that produce the most reliable results. Those notes will become your own reference library for future walls and materials.
The goal of the first setup is not simply to make the printer run. It is to build a repeatable process you can trust on every customer project.
Need help preparing for your first real wall-printing job? Send WallPrintBox your machine configuration, wall material, mural size, and artwork. The team can help you review the setup, calibration, ink configuration, and test-print process before you begin the full mural.